If you haven’t read the intro to this DIY post – you might want to give it a quick read.
On with the DIY adventure.
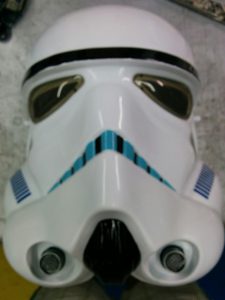
Original Rubies helmet. Not bad – but not right.
Parts List:
- Rubies Star Wars Stormtrooper Deluxe Adult Mask
- X-acto knife or similar hobby knife
- Glue for Plastics
- Sandpaper (150. 220, and 400 grit is ideal)
- Epoxie Sculpt
- Paint for Plastic
- Gloss White Spray Paint
- Testors Paint: Matt Black, Gloss White, Gray 1163
- Masking Tape
Episode One: The Trimming Menace
- I removed the bubble eyes from the front of the helmets. While they aren’t entirely incorrect (bubble lenses were used on some helmets), I wanted the flat green tinted lenses. They simply popped out with The Force (of my hands)
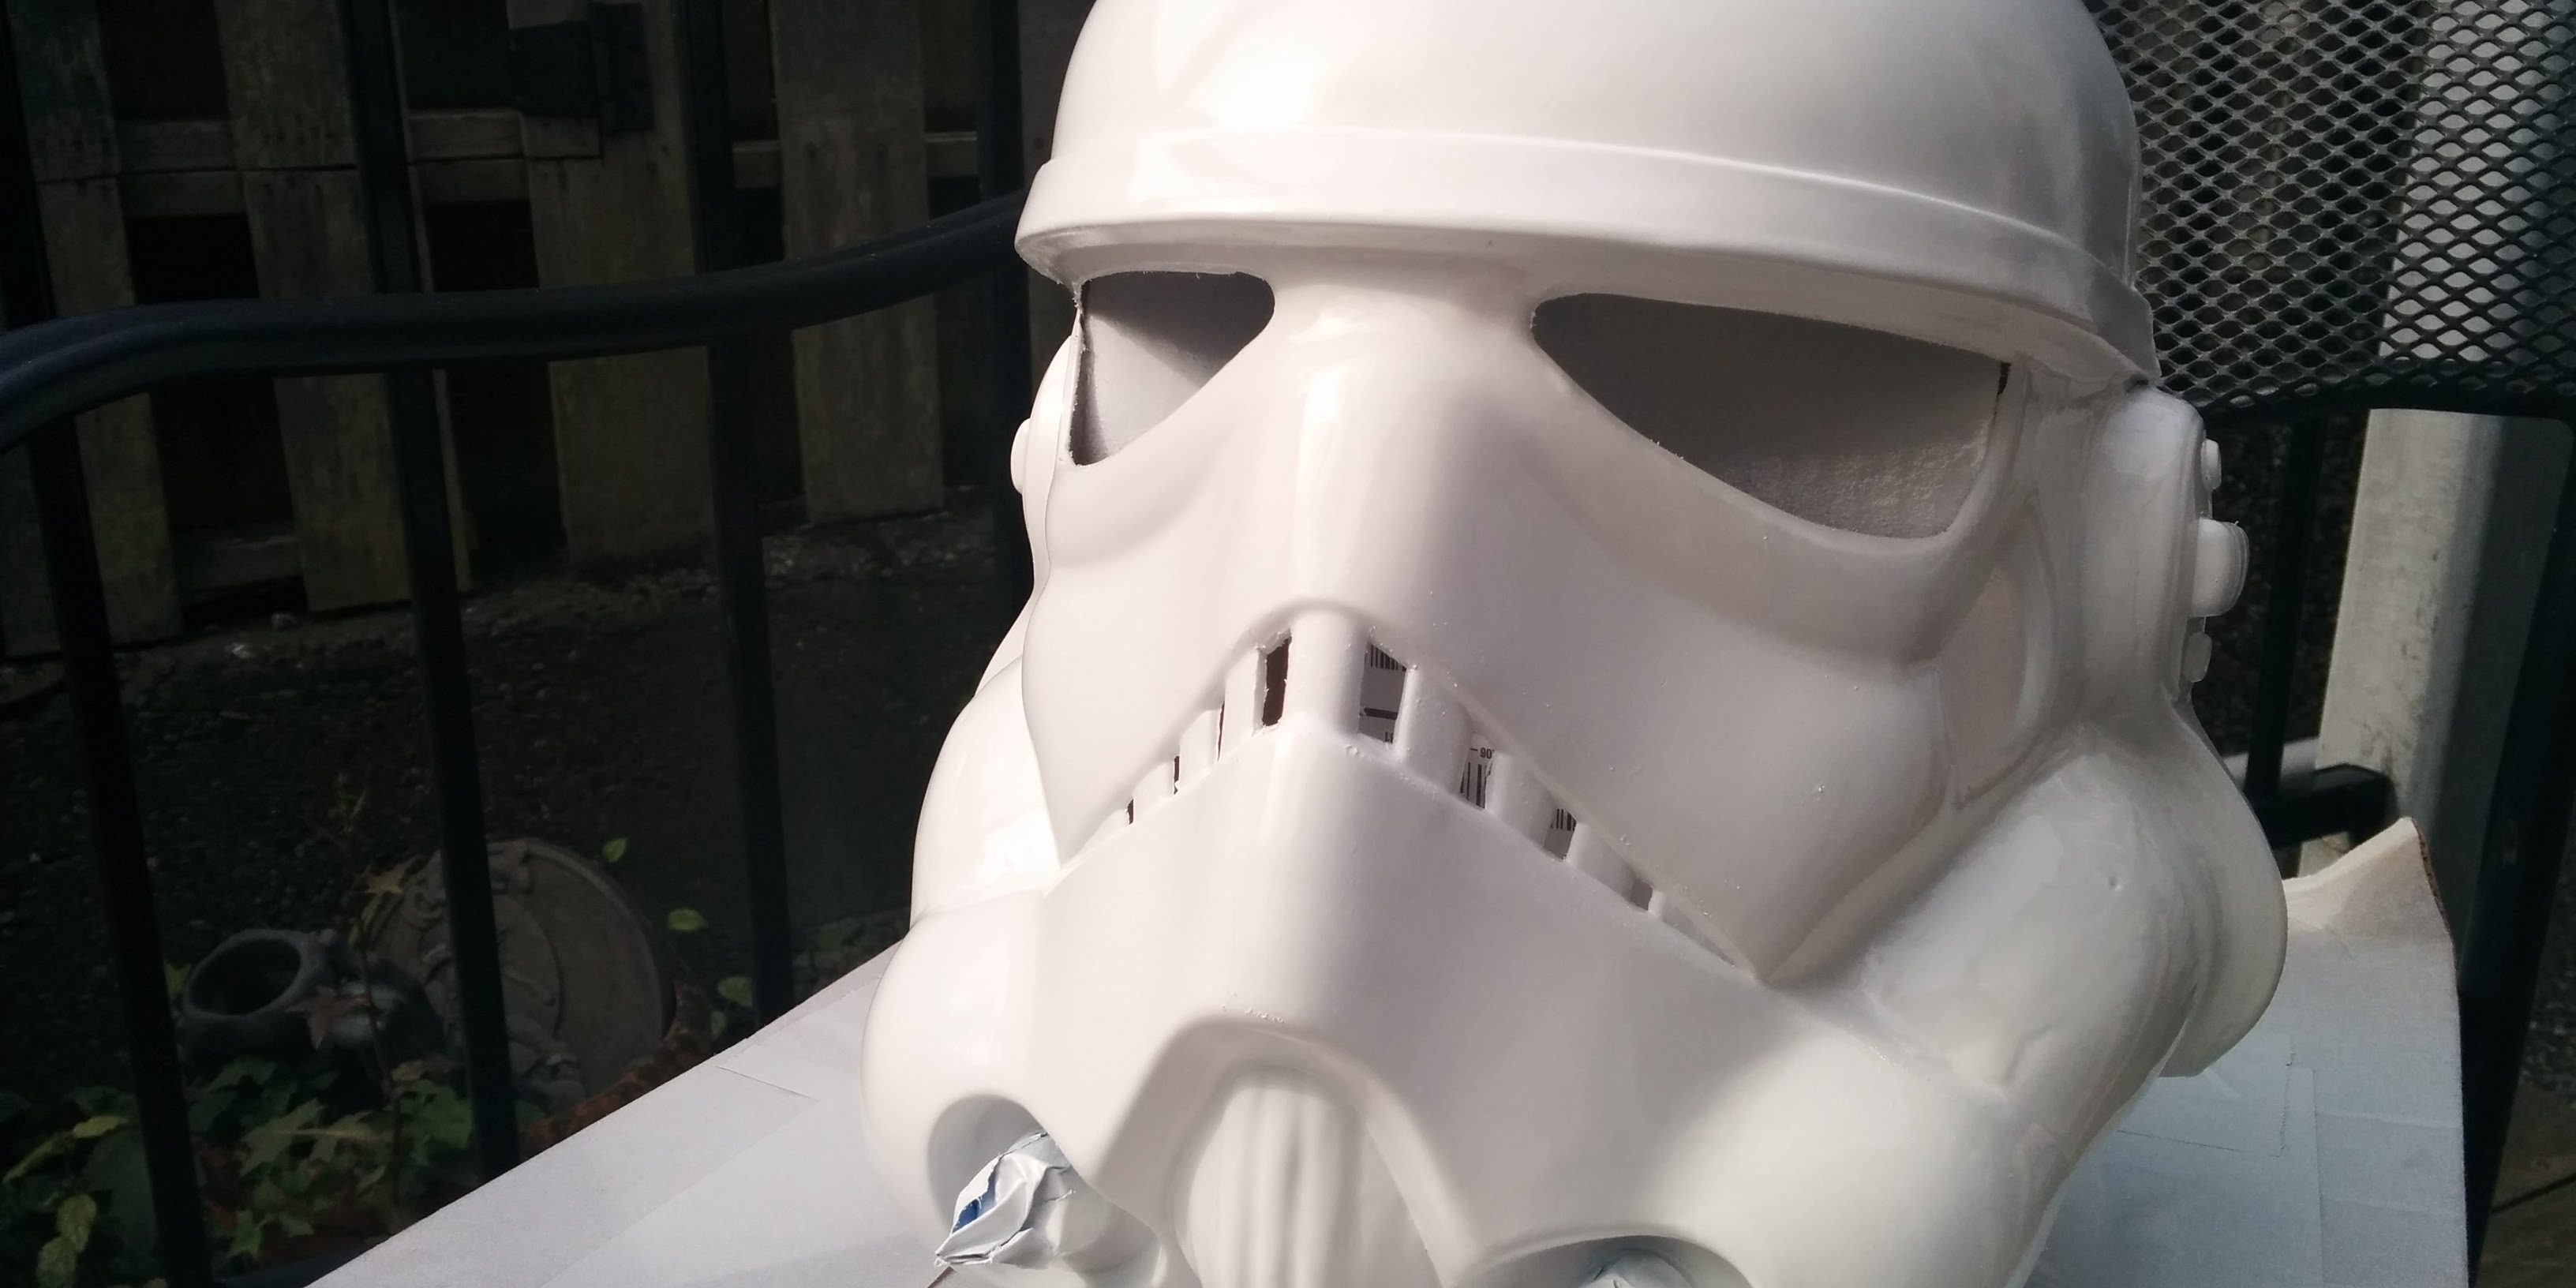
- Using some woodcarving knives, I trimmed the excess plastic off around the eye holes. An X-acto blade would do the same job. I went slow trimming off the plastic to make sure I didn’t take too much off at once. The plastic is pretty soft and easy to slice off layers at a time.
- Two of the teeth in the frown area are filled in with plastic and painted black. I didn’t like that so I cut them out. Again, going slow and making swipe after swipe with my knife, I broke through the plastic. Doing that to all four sides allowed me to eventually bend the plastic square off. I continued to trim that area square with my knife.
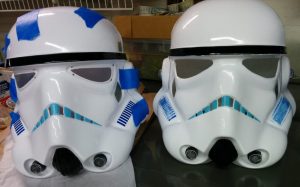
You can see the before and after [L-R] of trimming the eye areas and sanding down some of the paint.
Episode Two: Attack of the Glue
- I used Loctite Clear Silicone Waterproof Sealant to put the pieces together. It’s a basic adhesive for plastics that I got at The Home Depot. You’ll just need a glue for plastics that isn’t so strong that it melts the parts.
- Putting the helmet together to see how it would all fit, I got an idea for where I had the most/fewest gaps. That helped to know where to best put the glue. I disassembled the helmet.
- Next, I glued the front and back together along the seam following the instructions on the glue bottle.Made sure the excess glue dripped more on the inside of the bucket than the outside. (Filler is going on the seams and will have to be sanded. I didn’t also want to also have to deal with sanding down the glue.) After the two parts dried a bit (but not fully cured), I put the two ear pieces on with glue on every contact point. That ensured a nice snug bond.
- I primarily used painters tape to hold all of the parts together while the glue set. Clamps were used on the ear pieces to get them to stay flush with the rest of the helmet.
- The movie buckets have screws that hold the ear pieces on. This one does not. I tried to make my own screw heads out of clay, but didn’t like the effect. I found some small O-rings for making grommets and glued two of them on each ear. Not 100% accurate, but it was better than nothing.
Episode Three: Revenge of the Sanding
- Using some 150 grit sandpaper, I roughed up the area around the seams. That’s where I wanted to apply the filler. Doing this helps the plastic grip it. Don’t go overboard with this and go beyond the area you want to add filler. The plastic is soft and you’ll waste a lot of time sanding to smooth it back out. Remember, sanding plastic does not make you a karate expert. Only sanding wood decks does. Bonsai!
- The places I focused on sanding (specifically to apply filler) was the rectangle recess near the blue stripes, the seam around the ears, and the seam joining the two halves of the helmet. This is where I deviated a bit from the movie buckets as they do have seams around the ears. I wanted to make my buckets look seamless (visually) and stronger (foundationally). It’s my helmet. I do what I want.
- I also sanded off (as much as I could without making a career out of it) the embossed logo/copyright info on the back of the helmet.
Episode Four: A New Filler
- I did buy Bondo for the filler but I’ve never used it. I understand you have about a five minute window to use it before it sets. It also really smells. That was intimidating for a first timer! Bondo got returned and Epoxie Sculpt was bought. With this you have about a three hour window until it fully sets. That seemed more appealing to this rookie. It also does not give off a toxic odor.
- I mixed a small batch of the filler (a little goes a long way) and used my fingers to push it into the areas I wanted filled. I had a small cup of water with a little drop of liquid soap in it. Once I was happy with the placement of filler, I dipped my fingers in my soap water to smooth out the filler. It worked really well and will save hours of sanding later. Bonus, I immediately saw where more was needed. I kept doing this (mixing small batches as needed) as I went around filling in all of the areas on both buckets.
- Once done, I let them dry for 24 hours to fully set. The filler was hard to the touch after the advertised 3 hours and I’m sure I could have started sanding, but I didn’t want to risk it.
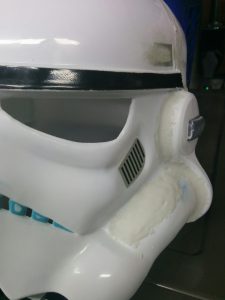
Added filler.
Episode Five: The Sanding Strikes Back
- Get comfortable. You’ll be doing this for a while. You’ll need a mask (keep your lungs clean ya’ll), eye protection, different grits of sandpaper, cup of water, and (optional) music. I did my sanding outside and highly recommend it.
- Starting with your 220 sandpaper, go over all of the filler areas and knock it down to be as even as possible with the rest of the helmet. Make many passes and take your time. I folded the sandpaper over on itself and didn’t use a sanding block or foam – just my fingers/hands. Foam might have been easier along the top of the helmet seam but I didn’t have one handy.
- Move up to 400 sandpaper and start smoothing out your filler and the roughed up plastic around it. I had a wet/dry sandpaper so I occasionally dipped it in some water to make the process easier. It unclogs the sandpaper and helps remove the dust from the helmet. You can better see what needs to be done.
- I alternated between grits, wet and dry, and holding the bucket in different lighting. This whole process was done over several hours.
- I noticed some areas that needed more filler and one spot where the filler didn’t take to the helmet. Reapplied more filler in those areas, let it cure overnight, and did more sanding the next day.
- I used some 800 grit sandpaper to really finish off the filler. Came out super smooth!
- I didn’t log how many hours I sanded. I could probably still be sanding it. You’ll reach a point where you can call it good. Take a break and look at it later. If, at that point, you are still content, move on to the next step.

Sanded down the filler and washed off the dust.
Episode Six: The Return of the Paint
- The two “aerators” on the front of the helmets were pretty neat looking. I didn’t want to paint nor replace them. Those alone got masked off with blue painters’ tape. Everything else was fair game!
- Using a rattlecan of Rust-Oleum Paint for Plastics, I gave each bucket a thin even layer. I saw some spots that could use a little more filler so I applied more, let it set, sanded it down, and did another layer of primer. I gave it a few days to fully cure.
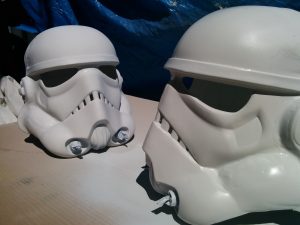
Primer is on!
- Next coat was gloss white. What a difference the paint makes! It’s starting to look like a legit Stormtrooper helmet! I let the paint cure. Spotted some runs and dimples in the paint (I’m not an expert at spray paint). I wet sanded those areas with 800 grit paper, let it dry, and did another light coat of white.
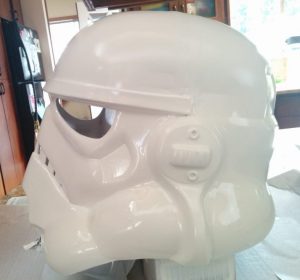
White gloss is on!
- Next is matte black. It’s just the brow and mouth areas so I spent a lot of time masking those areas out. I covered up the entire helmet with newspaper, since I was afraid of any overspray on my nice pretty white buckets. Took time but it was worth it. The matte black came out perfect. Well, except on some of my poor masking job near the mouth area. I was prepared for that and already purchased some gloss white Testor’s paint. A few quick passes of white covered up any mistakes.
- Speaking of white Testor’s Paint, I also had gray and black. Masking out the appropriate areas on the helmet, I painted in the gray and let it fully dry. Then, I free handed a black outline, painted some stripes, let it set, and removed my masking tape. It isn’t the prettiest paint job in the world, but it’s mine and I was fine with it.
- I wasn’t about to paint the blue stripes though! Everything was painted by hand in the original movies. (I know!) But with the curves and spacing of the blue stripes, I didn’t want to spend days obsessing about it. For $3 a sheet, I purchased decals off eBay. Within minutes, the blue stripes were done!
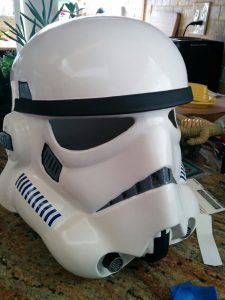
Almost… there.
Episode Seven: The Bucket Awakens
- The same time I bought the blue stripes off ebay, I bought the black netting for the frown area and the green lenses from the same seller. Combined shipping FTW!
- Gaffers tape is my friend. I used that to place the lenses and black mesh in place. I’m glad I did because while the helmet worked like a champ for me, not so much for my guy. Apparently, men and women have different head sizes. The sheet of plastic for the lens was preventing the helmet from fitting properly, so I needed to make more space for him in the nose area.
- I ended up cutting his lenses to fit the eye areas. I used gaffers tape to create some padding under the lenses for his nose. No cuts for our wedding day, please.
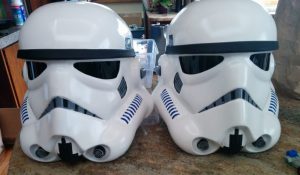
Two modified Stormtrooper buckets are ready for the wedding!
It took a few weeks to put all of these modifications together and I loved every step of the process. As with anything that you make with your hands, you put a part of yourself in it. When my husband and I donned these helmets in preparation for our entrance to our wedding reception, I had the memories of the work that went into them. New memories were built upon older memories. In the end, these former toy helmets have become very treasured possessions.

May the Force be with us.



1 Comment