Winter is coming. That means Christmas is coming. That means it is time to plunk a Santa Hat onto your favorite Star Wars helmet! Yasss!
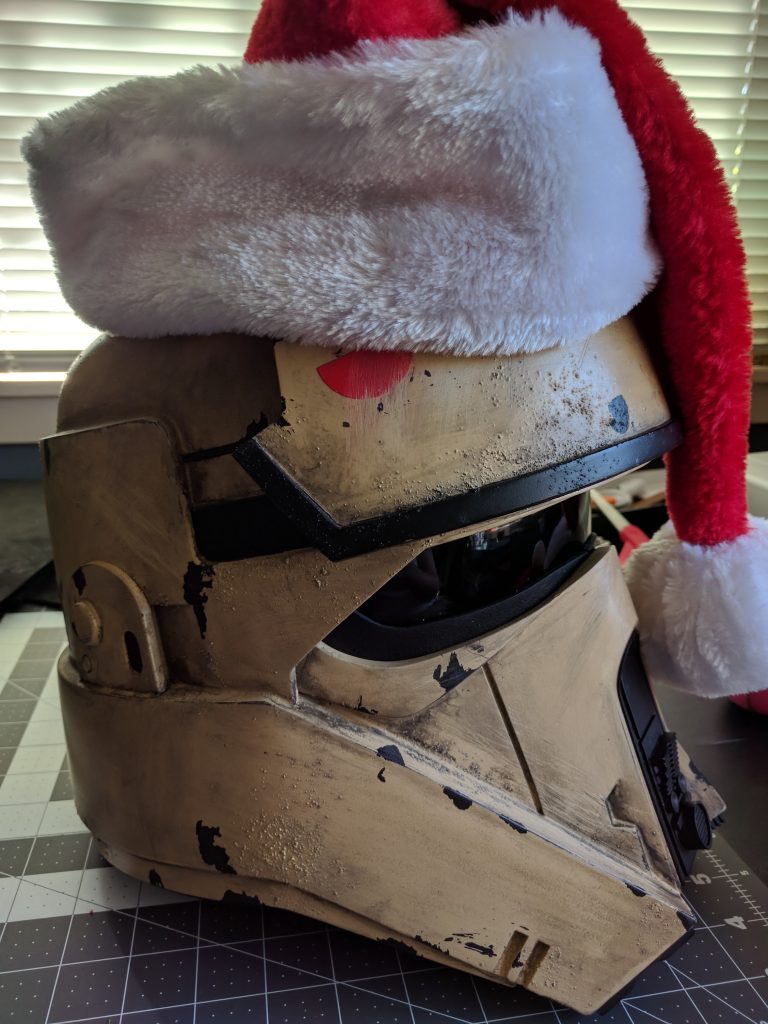
Oh nos! It doesn’t fit! That means it is time to bust out that sewing machine!
Step 1: Get them Santa Hats
You need two adult-sized hats. I planned ahead (hey, it happens every now and again) and bought two Santa Hats after Christmas last year. I got them for about $2 at Hobby Lobby. If you don’t have any on hand, don’t panic. All of the major craft stores, Hobby Lobby, JoAnns, and Michaels are starting to stock their Christmas items – if they haven’t already. Do a quick search on your smartphone while you’re in the checkout line and snag a 40% off regular priced items coupon. Pro-tip: those three chains honor each others’ coupons. Find a good one and save some cash!
Step 2: Cut them Santa Hats
Cut off the white ball at the end of the hat. Or go crazy like I did and rip it off. Turn the base of the hat inside out and cut off one seam per hat.
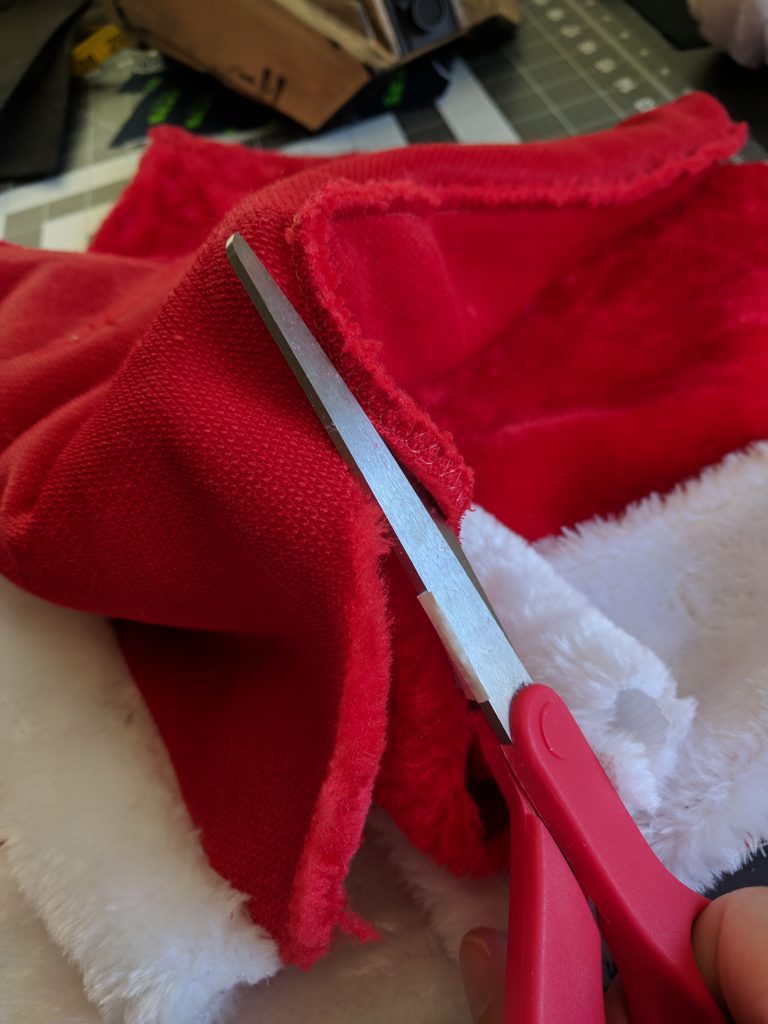
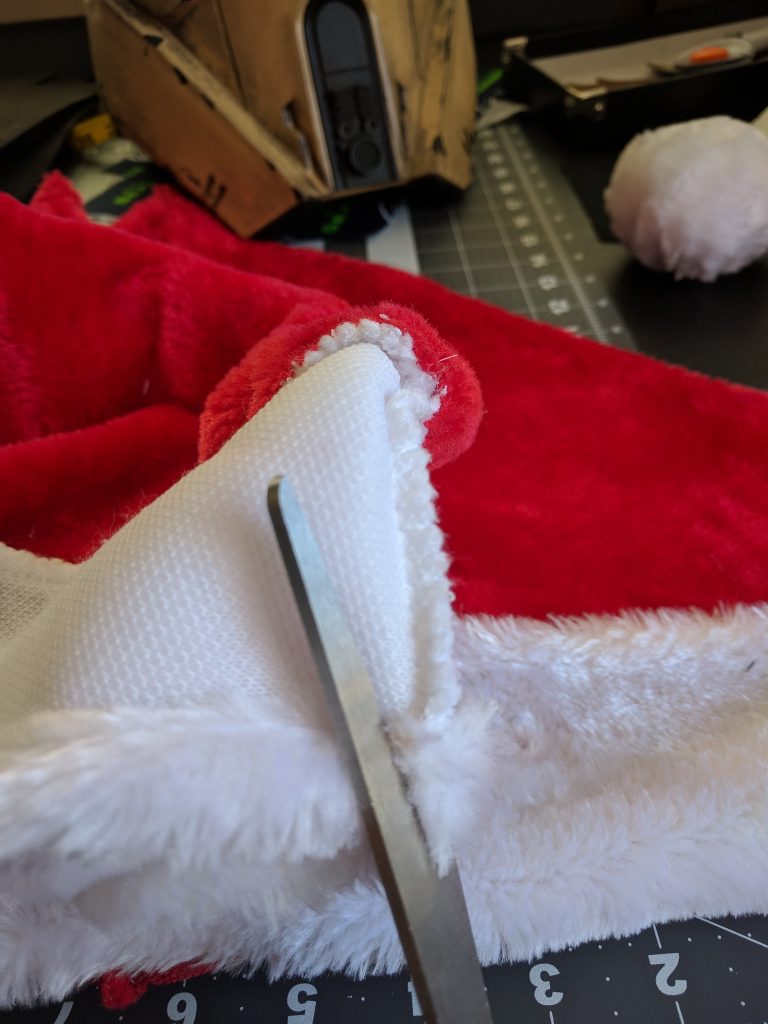
You want to end up with a flat hat. I started to use a seam ripper but it was incredibly tedious. You’ll have more than enough fabric for your new hat. Save some time and just cut it off. Do the same for the white cuff.
Step 3: Mega Santa Hat
Now that you have red and white fuzz everywhere, it is time to sew. Take the two hats and put them face to face (you want the inside rough texture on the outside). Pin one side together as best you can. It is more important to have the white collars line up than the small point or tip of the hat line up.
Sew the two hats together. I chose to use a zig-zag stitch for a stronger hold with this kind of material. You should use red thread, I used black here to show you how terrible my sewing is.
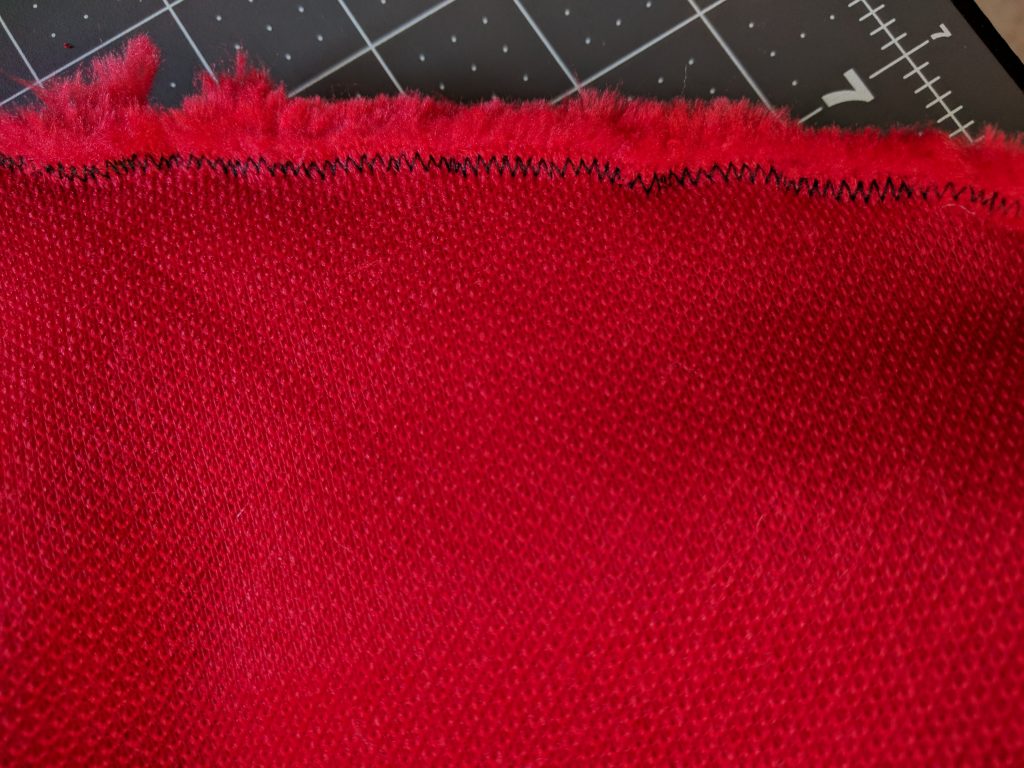
I had to really pull this thick material through my sewing machine. Keep that mind if your machine is not feeding the fabric through.
Step 4: Form Fitting
Ignore the white cuffs for now. Take your giant flat hat and wrap it around your helmet. See how it fits and where you want it to land. Put a pin in or piece of tape to mark the seam. Do this a few more times to see if the markings line up. When they do, that’s where you want to pin the rest of the seam. Again, with the fuzzy sides facing each other, sew up entire red side. Trim off the excess, if any.
Step 5: Almost. There.
Trim the white cuffs as needed and sew them the same as the rest of the hat (fuzzy sides face each other). Take the white ball and, if it doesn’t already have a hole, cut a small hole. Using a hot glue gun, put some hot glue in there. Now stick the tips of the red hat in the hold and press done (carefully) with your finger(s). You might have to do this a few time, depending on the look you want or how much fabric is there. After doing a test fit on your helmet, you might need to use some more glue to structure the hat a bit. On mine, the white cuff was very floppy so I glued two sides to the red fabric for a nicer look.
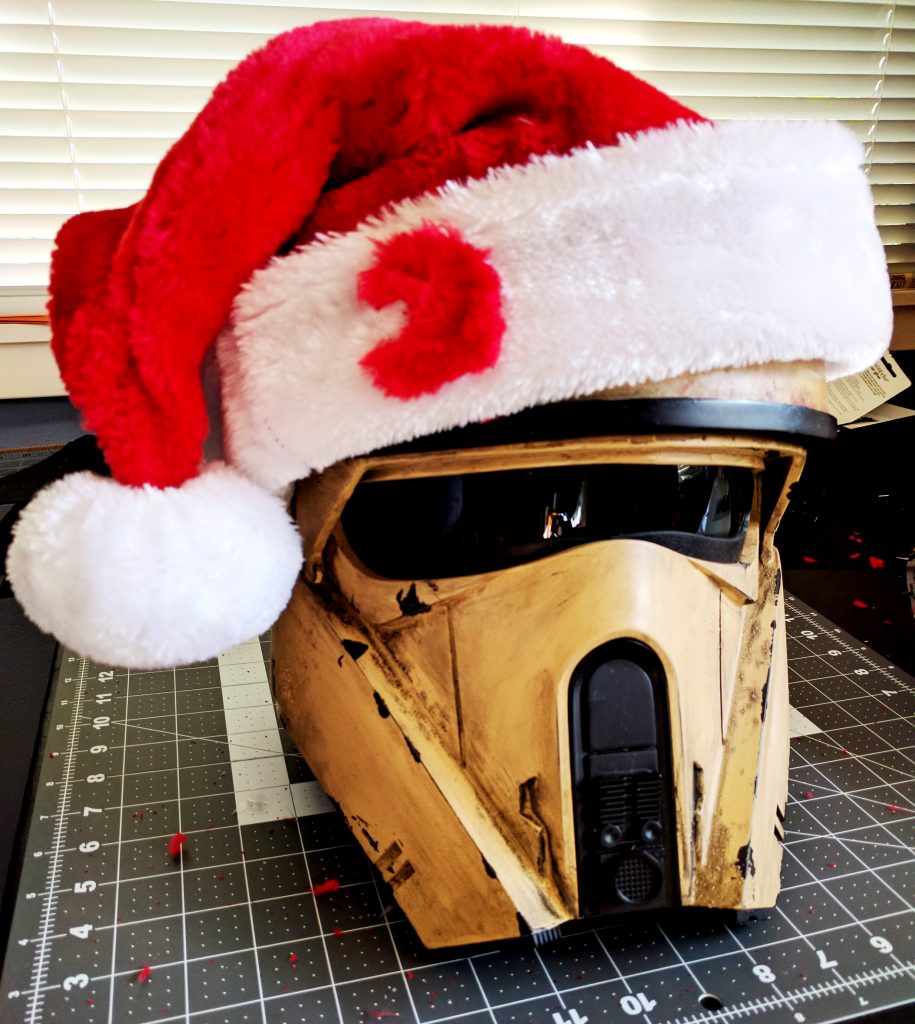
You can finish up the hat however you want. Add some sleigh bells, garrison patch, holly leaves, or an icon specific to your helmet. As you can see, I made my hat to fit my Shoretrooper bucket so I cut out the Scarif logo from leftover red fabric. That was also simply hot glued on.
Now, go and vacuum your workspace. Seriously.


