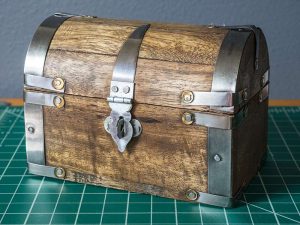
I was telling some friends how I was going to DIY a small wood treasure chest to hold the rings for the wedding.
“I’m going to modify it a bit. Add in some foam, doubloons, jewels…”
“And it will make noise when you open it, I bet!”
“… uh, yeah. That too. Yup.”
Lie. I had no intention of doing that. I lied in church. Not that location matters. It’s still wrong.
However, an idea had been sparked!

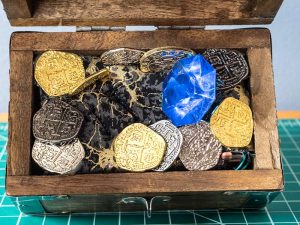
My guy used this cool treasure chest in his amazing proposal so I bought a duplicate from the same seller on eBay. It’s pretty inexpensive and I wanted to use the original for another project. Using kaizen foam, I cut a piece to fit the chest. I used this particular foam because A) I had it and B) you can cut away small layers so I figured it was the easiest to pick away parts for the rings to stay snug.
I hot glued some fabric I had on hand to cover the top. It isn’t the most ideal fabric but it had some history in my family and is made with real gold. So fancy!
Next, I cut out some grooves for the rings. I simply just used a hobby knife and cut a space a lot smaller than the rings so they’d stay put even if the box was upside down. I trimmed away a small sliver of foam and did another test fit until I was satisfied with the fit.
In the space around the rings, I hot glued and/or cut out space for jewels and doubloons .

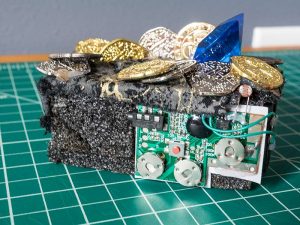
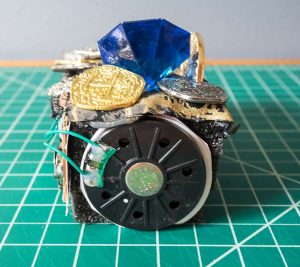
I purchased a Light Sensor Sound Chip from Amazon and followed the instructions to add the Hallelujah chorus to the sound card. Trimming away some of the contact paper and making sure the sensor was visible to the light, I hot glued it on the side of the foam base. Sliding it into the wood chest (I didn’t glue it in order to easily tinker with the sound card), I was done!

You can see the light sensor sticking on between the silver and gold coins on the right.

This angle you can see the black circular speaker wrapped around to the side of the foam block.
And the result – nobody even knew about the sound effect! I’m not even kidding. The environment at the wedding was just loud enough that you couldn’t even hear the chorus.
I knew though. I knew.


