Asked my nephew what he wanted for his big milestone of turning 8 years old. He wanted a Stormtrooper helmet. I love that kid. I got him a Rubies Stormtrooper helmet and it was a big hit at his birthday party. Mission accomplished.

Until he gave it back to me a few months ago. Apparently he wanted ME to glue it together. (I’ve noticed he identifies specific people in the family to do tasks for him lately.) Since I had a spare pair of green lenses from my previous build, I offer to upgrade his helmet.
Nephew: “I want blue”
Me: “No, you can’t have blue. That wasn’t in the movie.”
Nephew: “Red!”
Me: “No! That’s not canon either.”
Nephew: “All red!”
Me: “No… wait, maybe there was one in a game… how about black?”
Nephew: “Yeah!!”
And thus I converted a Stormtrooper helmet to a Shadowtrooper for my little buddy.
Putting it together
I used E6000 glue to put the helmet together. Painter’s tape and clamps held the parts in place until the 24 hour cure time was up. E6000 glue is ideal for this type of application because it’ll hold the parts firmly but, if need be, you can pry them apart for future modifications.
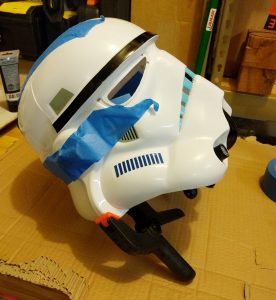
Cut it out
The lenses are terrible. I popped them out and tossed them away. Using a utility knife, I trimmed away the excess plastic around the eye area. There are also two areas of the frown that are filled in with plastic that should be clear. Cut them square out!
Filler ‘er up
There are some spots that could use some filling in. The uneven seam across the top of the bucket is one. There’s also two rectangular recesses surrounding the blue stripes that shouldn’t be there. In my previous build, I used the very user-friendly Apoxie Sculpt. This time around I’ll be using some stinky Bondo. I’m working in an open garage and wearing an organic respirator. You do NOT want to be breathing in the Bondo fumes.
I roughed up the areas I wanted to fill in with some 80 grit sandpaper. I only did this to help the Bondo grip to the plastic. While I was at it, I sanded off the logo and copyright info molded into the plastic on the back. Mixing up a little Bondo, I spread it over the top seam and the two recesses. I did what I could while it was still workable to feather it out with the rest of the bucket.
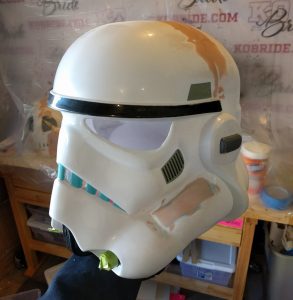
I let the Bondo cure for a few hours. Then, I sanded it down flush with the rest of the bucket. I finished this step by washing the entire bucket in the sink to remove all of the Bondo dust.
Primer
I like the aerators on this helmet so I masked them off with some painter’s tape. I then did a light coat of sandable primer for plastic. This highlighted some areas of the plastic that got roughed up too much from the low-grit sandpaper. The Rubies helmet is a very soft plastic so this happens quite a bit. Starting with 220 grit, I sanded it down and worked up to 800 grit to smooth everything back to normal.
Another layer of primer and everything looks good. I let this cure overnight.
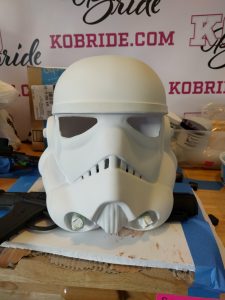
Paint it black
I wanted the brow a matte black so I sprayed that first. I let it dry overnight before I masked it off.
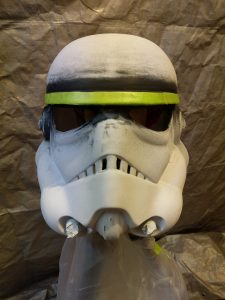
Using gloss black paint, I did a few light layers and it looked great! Until I saw some funky wrinkles in spots. Dang! I let it dry and went sanded those spots down with 1000-grit sandpaper. Those spots were super smooth. More paint.
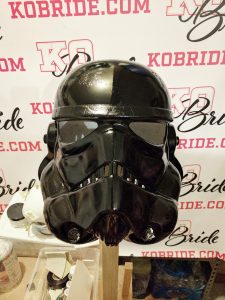
You can kind of see the spot on the top left.
And more wrinkle spots! Argh! They’re smaller than they were last time but still.
More wet sanding occurred.
Third time’s the charm and no wrinkles appeared! But this time I got some orange peel effect from not directly spraying the area with the rattle can. Very light wet sanding removed the peel.
I used the Fourth (coat) with this one. Last coat was perfect. I let it cure for 48 hours before I touched it.
A gloss clear coat went on and that signified the end of the painting!
Finishing touches
The masking tape got peeled off and I was very pleased with the contrast of the brow and the rest of the bucket.
Frown area got some silver model paint applied freehand in this area – carefully.
I bought some vinyl decals of the blue stripes off of eBay for a few bucks. So much easier than painting. I used blue because that’s what I had on hand. I think both silver and blue stripes are acceptable for Shadowtroopers.
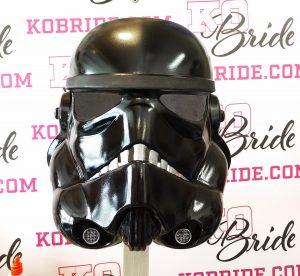
I also bought some silver film off eBay for the lenses. I am not 100% sure, but I believe this is what’s used to mirror-tint windows. I simply taped that inside the helmet. I’m sure the nephew will come back later and asked that to be glued.
And that how you can convert your Stormtrooper to a Shadowtrooper.
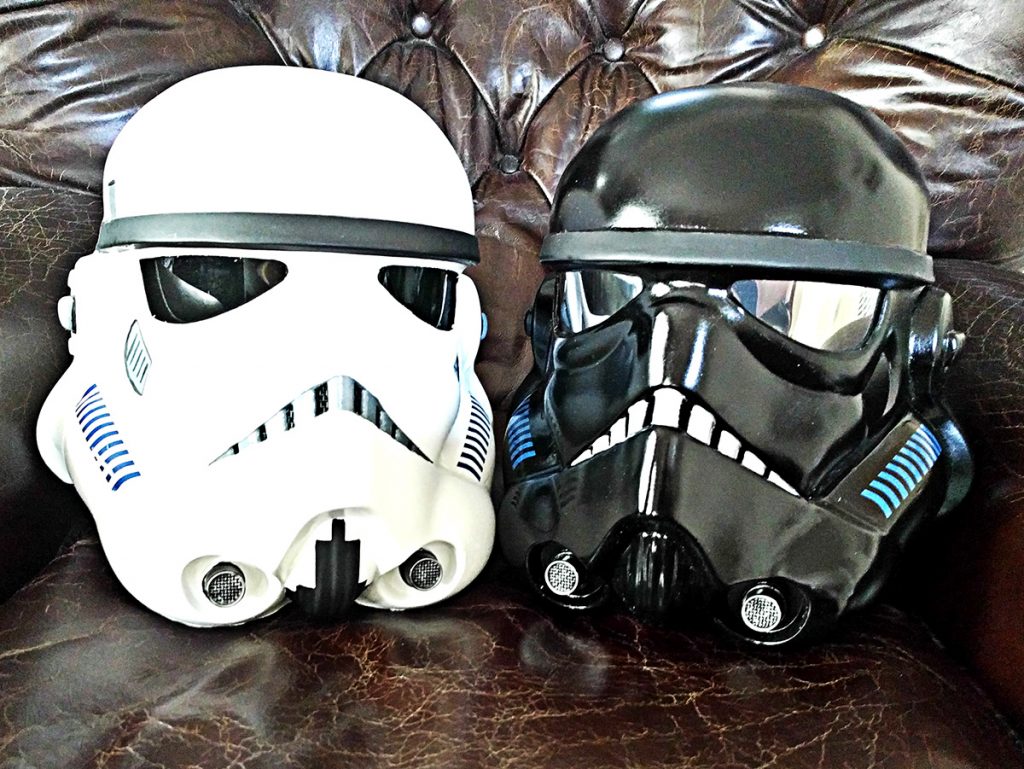
PS. The nephew loved it.
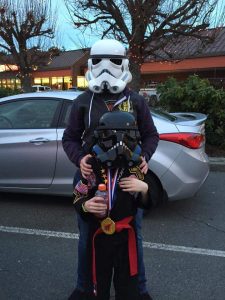

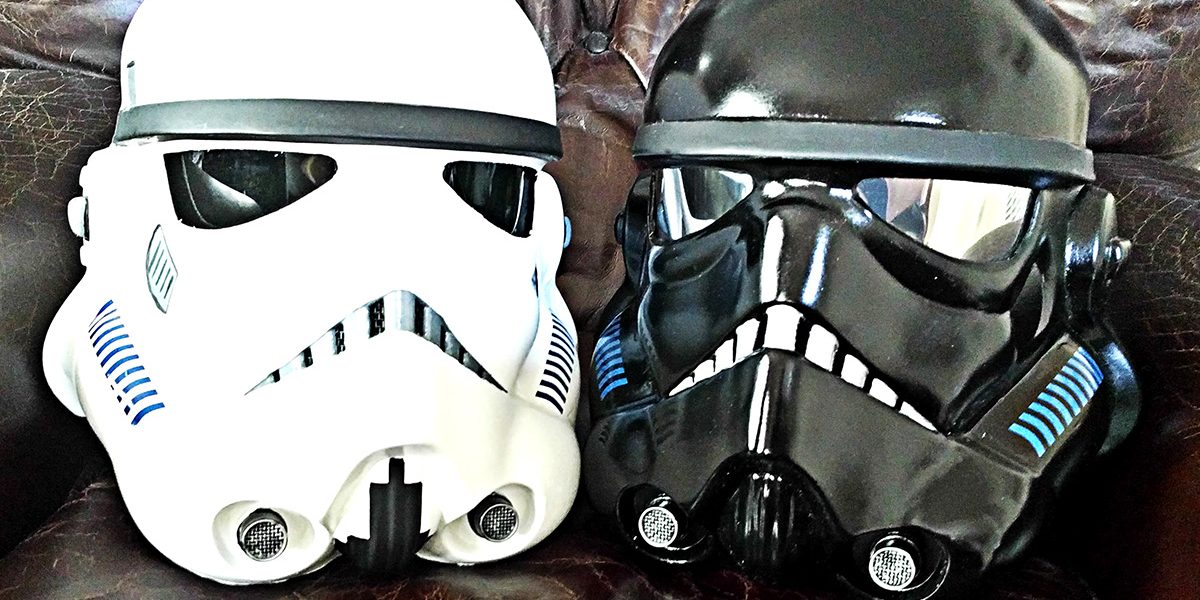


You’re the best auntie ever!!