Alright ladies, we all know the tried and true Bend and Snap technique. Now, let’s zero in on the Score and Snap. This is the ideal method for trimming your armor parts – especially on those long and straight sections. I did an overview of the methods in another post but, in short, here’s what you do: Score the plastic with a blade (box cutter or utility knife) and bend the plastic until it snaps off.
I’m going to go through how I trim curved pieces in this post. Some folks use Lexan Scissors for the curves. But… I don’t own a pair. I just use what I have.
What I use
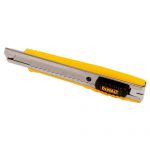 Utility Knife/Box Cutter
I use this over a X-ACTO knife because it gives me more control as there is more to hold onto. Instead of my fingers gripping a thin handle, I’m using my entire palm to grip it. That allows more pressure cutting into the plastic with less effort.
Dewalt Single Blade Snap-off Knife (Amazon): $8-$10
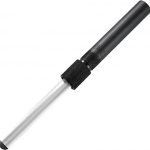 Kershaw Blade Sharpener
Sharp blades cut better than dull blades. Rather than constantly replacing the blades on the Utility Knife, I got a blade sharpener. A little WD-40 gets sprayed on the sharpener, a few swipes, and I’m ready to go.
Kershaw Blade Sharpener (Amazon): $18-$24
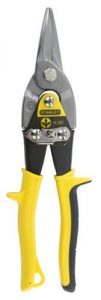
Aviation Snips/Tin Snips
Perhaps I have weak hands, but some of the plastic is too thick to snap off. Very quickly these bad boys got added to my tool kit. You end up with a jagged edge so they are not ideal for most trims. But in combination with the Score and Snap technique, I find the job goes so much faster.
Stanley FatMax Aviation Snips (Amazon): $8-$15
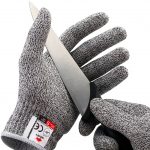 Cut Resistance Gloves
So this is very optional but recommended. I haven’t cut myself from a slip of the knife (yet) – but I have been sliced from the plastic slipping. It is sharp and will cut. Treat yo’ self and protect yo’ self. And don’t do what the picture portrays. That’s just dumb. Just believe the gloves work.
NoCry Cut Resistance Gloves (Amazon): $11-$17
Find Your Trim Line
Look at the plastic and see where your trim line is. If it hard to see on the outside the line might be more defined inside. The following set of images are of an untrimmed Stormtrooper calf, FYI.
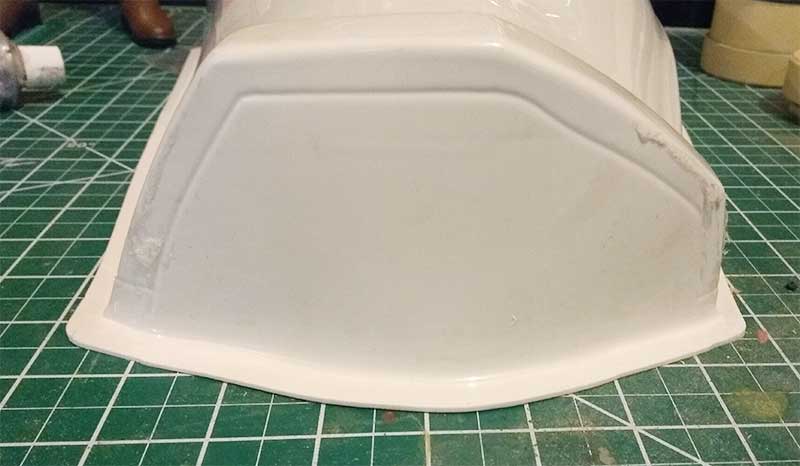
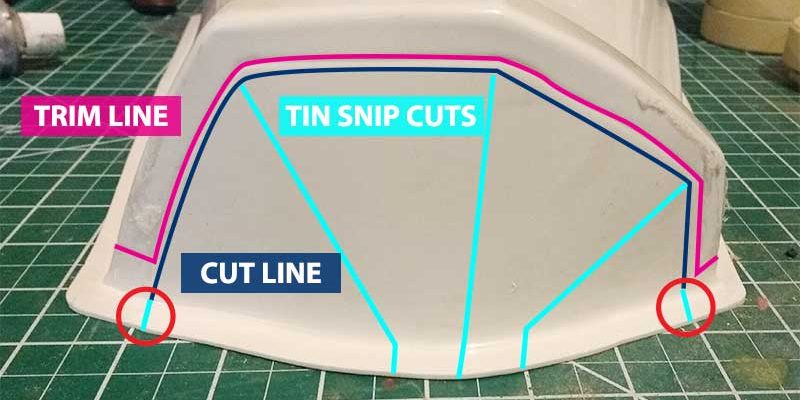
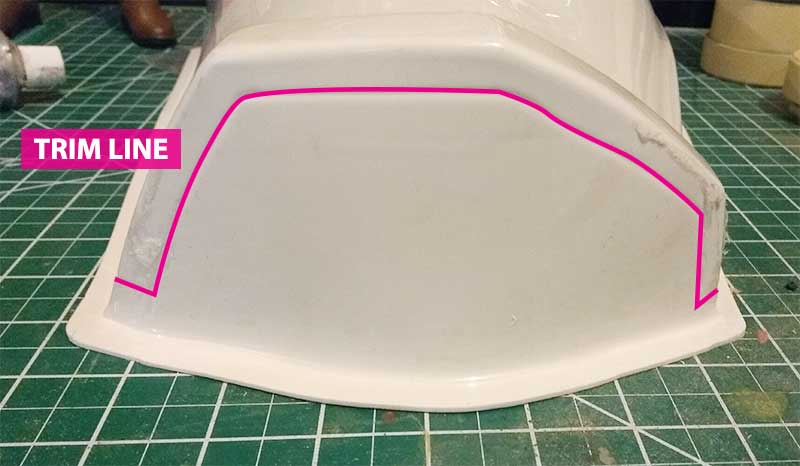
I’ve outlined the trim line below to make it easier to spot. Some lines are well defined yet can all but disappear in the plastic. Know where your entire cut should go before you take a knife to the plastic. You don’t want to be in the middle of the cut and find out you went off track.
Give Yourself Some Room
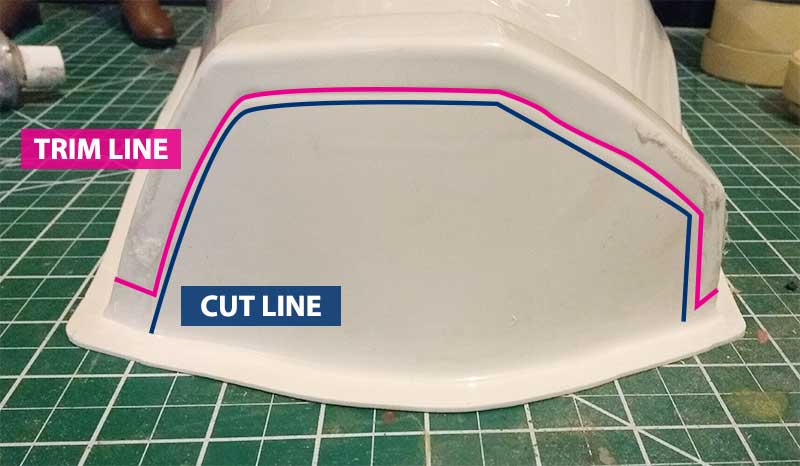
You can always cut more later. And you will cut more later when you try to fit the armor to your body. Go wide. Get close to the trim line. Maybe dip into it a bit if you are confident. Below I have outlined where I typically will cut at. Notice that I did not jut out to the left or right at the base of the cut. That section will be easier to trim off when I cut the sides of the calf piece later. Also, leaving them for now will give me more stability while I cut.
Tin Snip Time
You can’t bend off an angle like this. So, what do you do? Cut into the plastic to make some straight-ish lines. Tin snips cut the plastic like butter and it goes very fast. Notice the cuts inside of the red circles. The bend of the plastic makes it incredibly difficult to cut with a knife – so just snip snip.
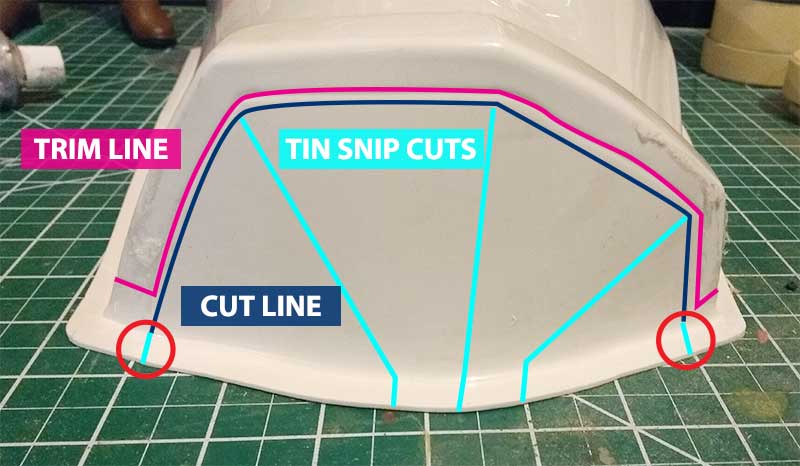
By sectioning this off into four areas, you end up with a pretty straight line that bends and snaps right off. See! The bend and snap does work!
Remember to save some plastic for that beloved ABS paste!

