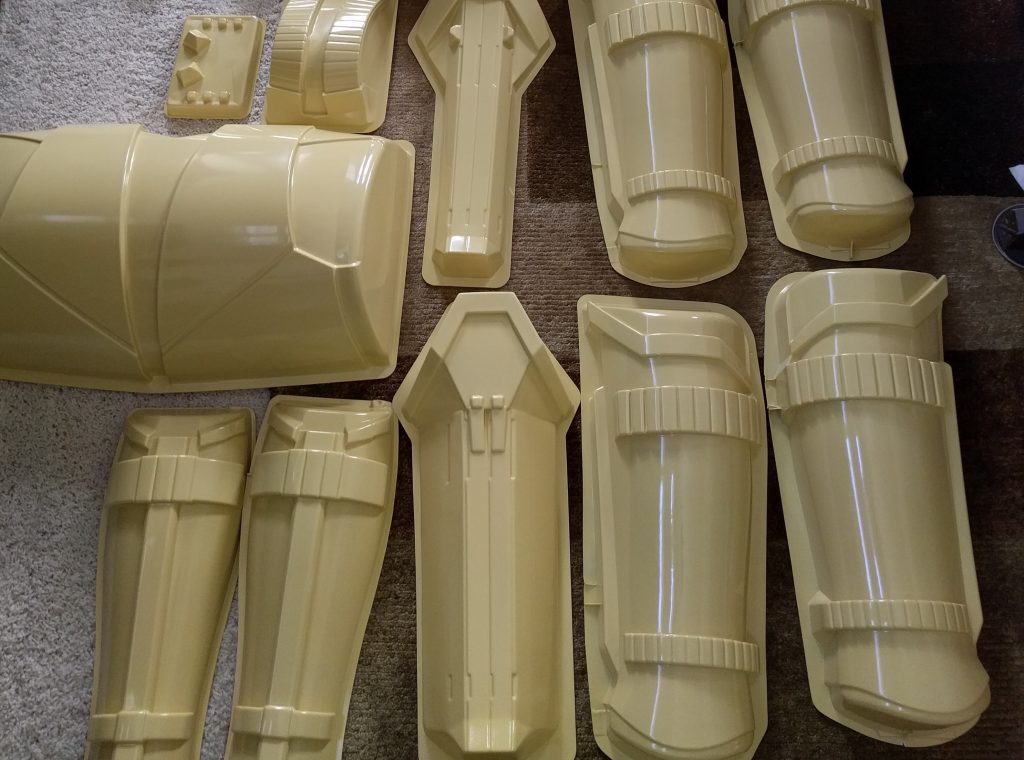
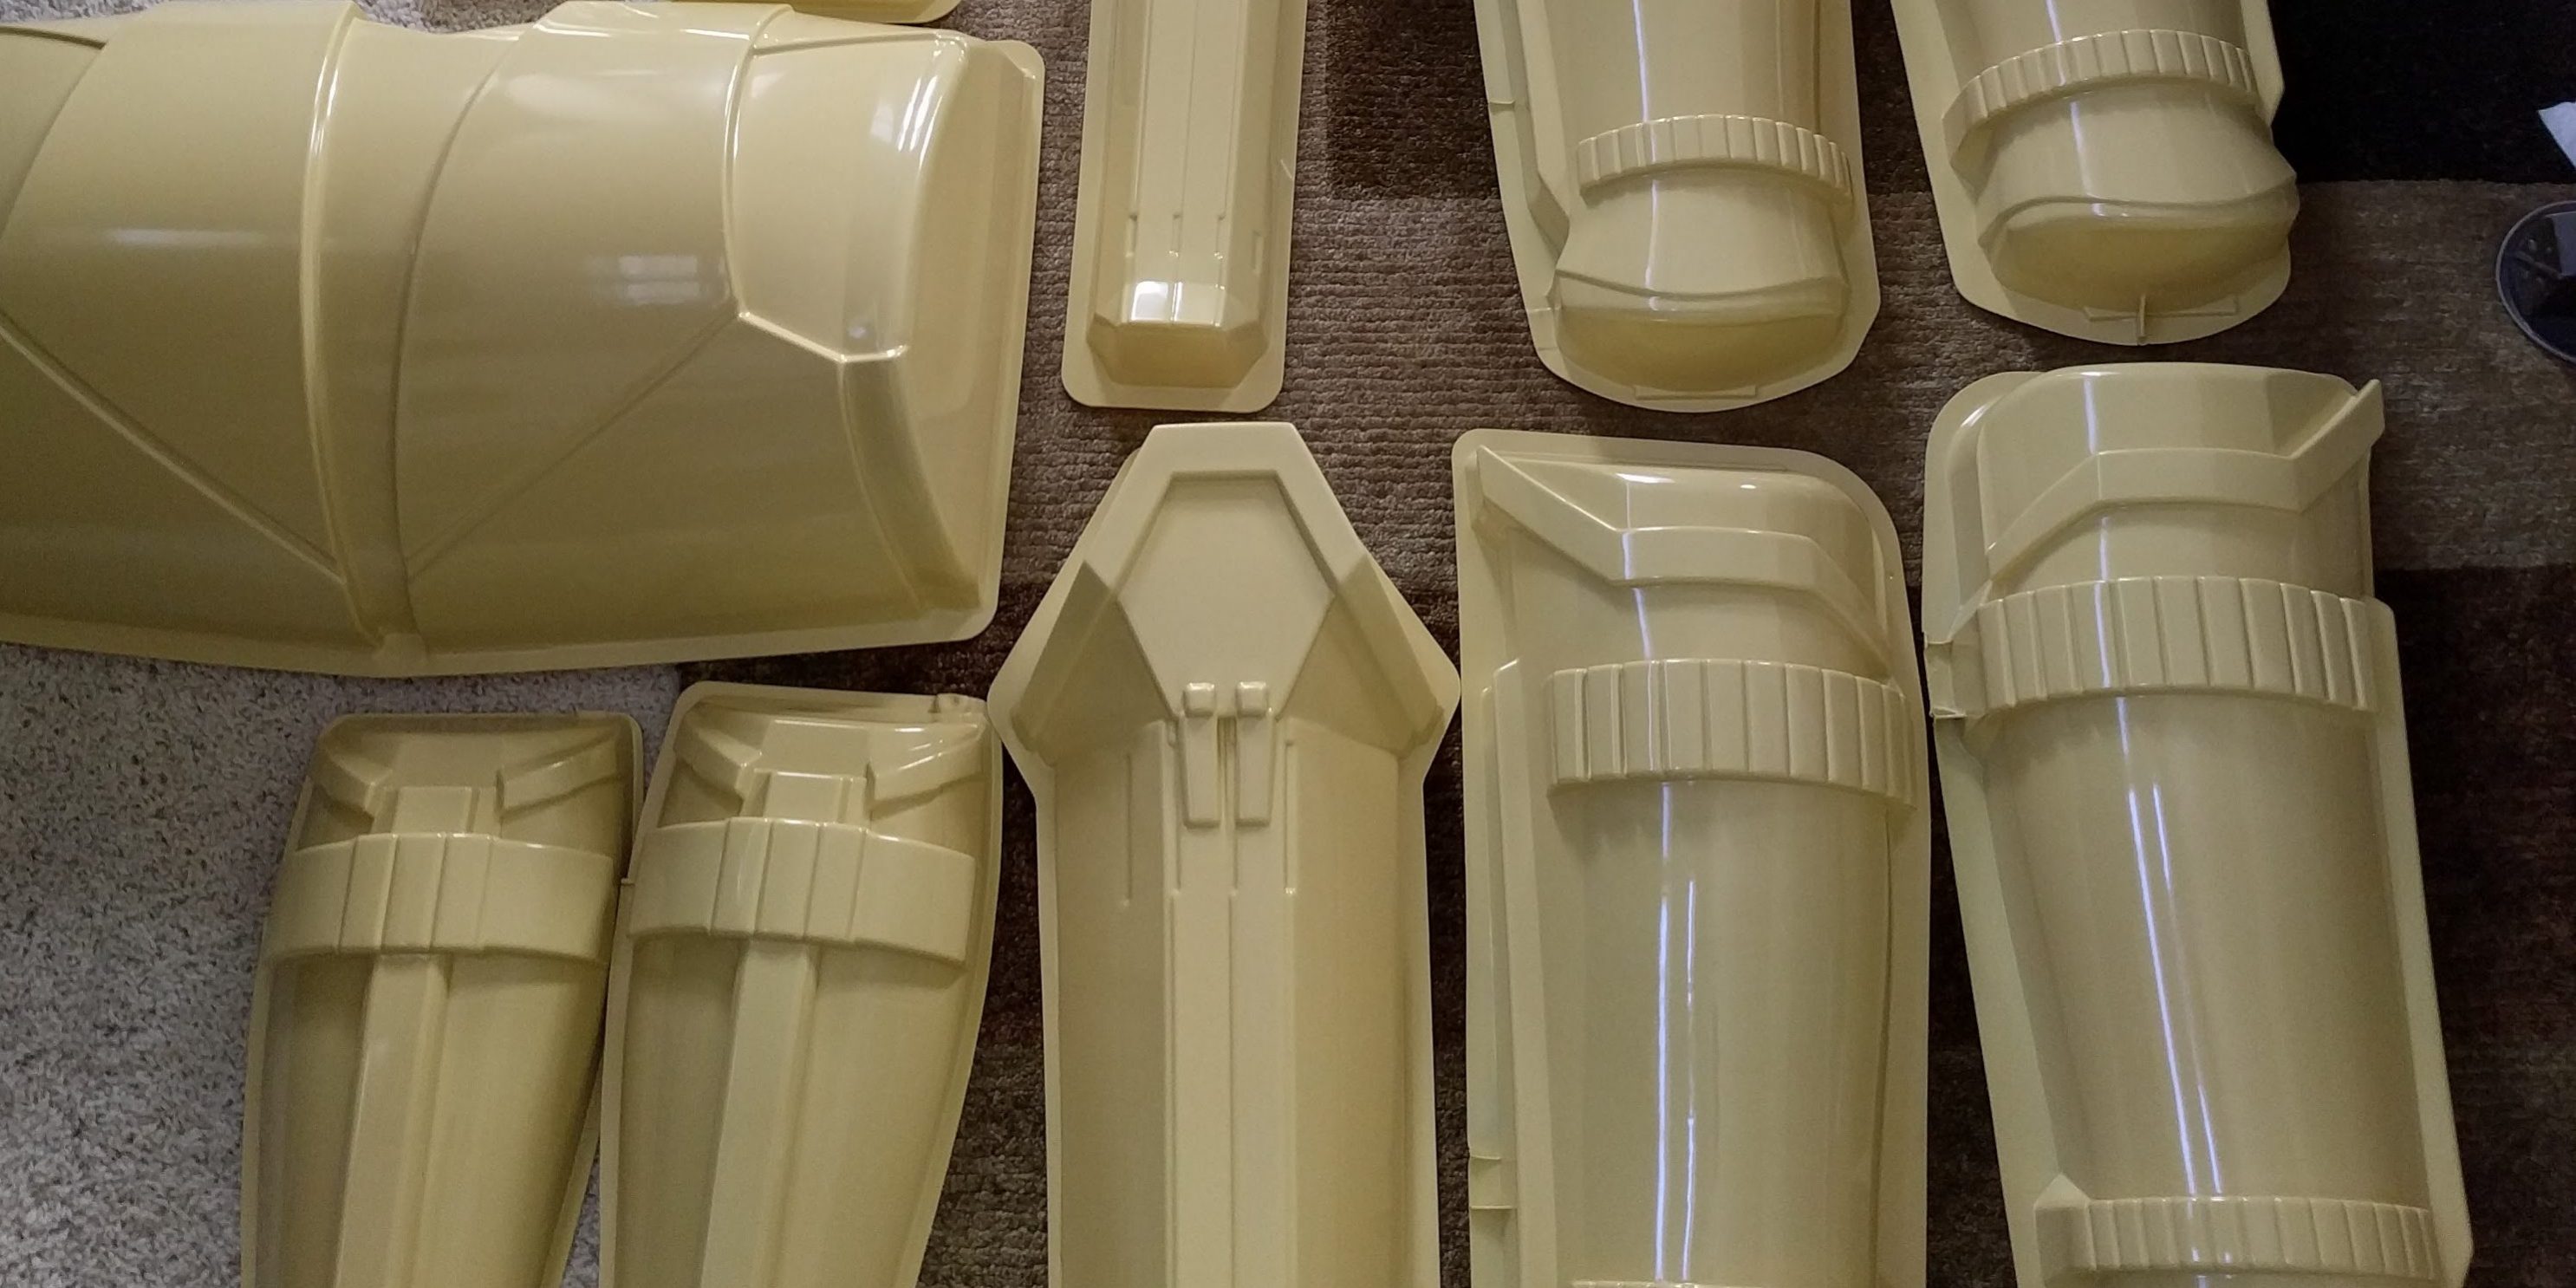
Trimming your armor is the first, and possibly the most intimidating, step in the getting your armor done. Looking at all of the parts and work you have to do can be overwhelming. Not knowing exactly how or what to trim off can be confusing. The fear of trimming off too much can be debilitating. Fear not, nerds. Lets chip away at this.
Starting point
Yay! Your Big Brown Box (BBB) Day has arrived and now you have your work space filled with plastic bits. Double check you got all of the parts you ordered and there are no flaws. Once you’re ready to get to trimming, start with the least visible section. Don’t grab the shoulder bells or upper torso section! Pick up the back calf part or something else in the back.

Cut it out!
There are a few methods to trimming your armor. Score and snap, cutting, dremel, and sanding. You can mix and match the methods depending on your preference or what the cut dictates.
Score and snap: Ever cut glass or drywall? It’s the same idea – score a line on the material, apply some pressure, and watch it snap apart. This method is great for straight areas and can go very fast. I used a heavy utility snap knife and kept it sharp with a Kershaw Blade sharpener. Practice this method on a wide area of your untrimmed armor to get a hang for your cutting technique first.
Cutting: Curved areas don’t play very well with the score and snap method. It can still be done, but you’ll be needing some extra help. Some folks swear by Lexan scissors. They look like they’ll hurt my hands after a bit so I used curved Tin Snips. Stay away from your trim lines! Sand those suckers down later. Just get the rough cut for now.
Rotary Tool: AKA Dremel. AKA another method I didn’t employ. I tried it for a minute but I melted more plastic than I cut. This probably is dependent on your plastic type and thickness so keep it in mind.
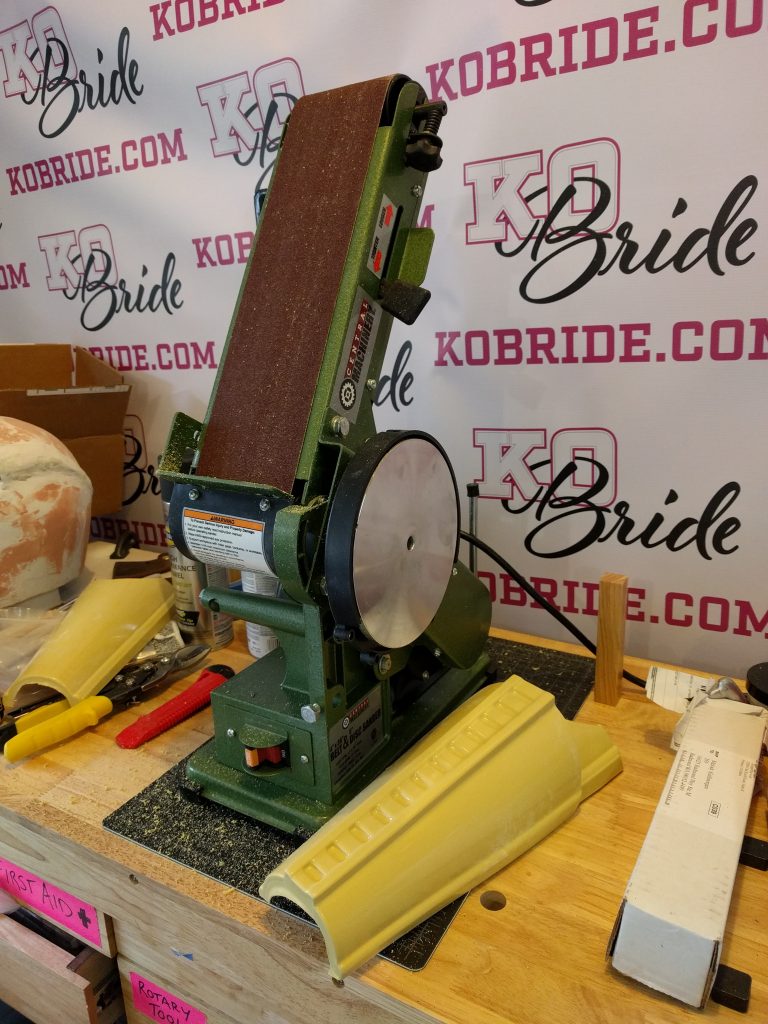
Sanding: I used my table top belt sander for all finishing of the rough trims and loved it. I was covered in plastic flakes, but had nice straight lines where I wanted them and curves where I needed them. This was a fantastic time-saver and well worth the $60-$75.

So where do you score, cut, or sand? Pretty much all armor that you purchase will have trim lines on the armor. If there are multiple, that might mean the maker has given you options for sizing. Check with them though. Some of the trim lines are difficult to see on the outside so inspect both sides.
Fear not!
I’ve already given some tips for trimming your armor but here’s a bullet list of tips:
- Know the part. Understand the part. Figure out what it should end up looking like and what doesn’t belong.
- If you’re going for 501st approval – print out the CRL for your costume and know what, if any, needs to have a return edge. The return edge gives the appearance of a thicker armor and sometimes it is mandatory. Sometimes, it is optional and can be removed to help fitting the armor to your body.
- Work your way up to the trim line. Don’t try to get it all trimmed on one pass come hell or highwater. Cut it close and let the sander do the rest of the work.
- Watch out for the belt sander! That bugger can sand off a lot of plastic fast. If you aren’t careful, you can be well past your trim lines before you know it.
Go slow, have fun, and make it a party. Not with like people and stuff – that’s weird for us introverts. Put on some tunes, podcast, or whatever and get in the zone. If you are the type who actually likes group projects – invite some friends or family over or look up local cosplay groups or Garrisons (in the 501st Legion) for build parties.
And if you end up making two mistakes during a session of trimming – take a break.
Trust me.


I am starting a Shoretrooper build and love Jesus too!!
Awesome! Let me know if you need any help with your build. The Pathfinder’s forum also has a ton of info. 🙂